
 Contents
| Line 39: | Line 39: | ||
<li>Click on the <b>"Downloads"</b> link in the menu</li> | <li>Click on the <b>"Downloads"</b> link in the menu</li> | ||
<li>You will be able to see the products available for download. Click on <b>"More..."</b></li> | <li>You will be able to see the products available for download. Click on <b>"More..."</b></li> | ||
| − | <li> | + | <li>You will see the script version upgrade package. Click on <b>"Download Now"</b> to download the version upgrade package.</li> |
</ul> | </ul> | ||
</li> | </li> | ||
| Line 51: | Line 51: | ||
<p>Before you overwrite all the files, please ensure that you do not overwrite the <b>“settings.php”</b> file. This file will be found in the <b>“public_html”</b> directory. Please note that if you are using subdomain, then you will find this file in the <b>“public_html/subdomain”</b> directory. If you overwrite the <b>“settings.php”</b> file, then you will get an error and the upgradation will not be possible.</p> | <p>Before you overwrite all the files, please ensure that you do not overwrite the <b>“settings.php”</b> file. This file will be found in the <b>“public_html”</b> directory. Please note that if you are using subdomain, then you will find this file in the <b>“public_html/subdomain”</b> directory. If you overwrite the <b>“settings.php”</b> file, then you will get an error and the upgradation will not be possible.</p> | ||
</div> | </div> | ||
| − | <li>Next, connect your “FTP” to your “webhost account”. | + | <li>Next, connect your <b>“FTP”</b> to your <b>“webhost account”</b>. Upload all the files in the folder named “upload” mentioned in first step to <b>“public_html/app"</b> directory.</li> |
<div class="important"><b>Note :</b> | <div class="important"><b>Note :</b> | ||
| − | <p>Please note that if you are using subdomain, you must | + | <p>Please note that if you are using subdomain, you must Upload all the files to corresponding public_html/subdomain directory.</p> |
</div> | </div> | ||
<li>Run upgrade/index.php File<br/> | <li>Run upgrade/index.php File<br/> | ||
| Line 70: | Line 70: | ||
<div class="docs"> | <div class="docs"> | ||
<ul> | <ul> | ||
| − | <li>Version Number: 2.0</li> | + | <li><p>Version Number: 2.0</p></li> |
<li>Release Date: 14th April 2016</li> | <li>Release Date: 14th April 2016</li> | ||
<li>Change Logs: <xa href="https://www.proxscripts.com/docs/Change_Logs" target="_blank">https://www.proxscripts.com/docs/Change_Logs</xa></li> | <li>Change Logs: <xa href="https://www.proxscripts.com/docs/Change_Logs" target="_blank">https://www.proxscripts.com/docs/Change_Logs</xa></li> | ||
Revision as of 14:17, 14 April 2016
When you upgrade your ProXCore Script from Version 1.0 to 2.0, make sure that you keep the following things in mind:
- Make sure that you have not made any design changes in the current script version 1.0
- Make sure that you have not made any customisation changes in current script version 1.0
If you have made any design or customisation changes and if you upgrade the script version, then these changes will go away/disappear and some functionalities may not work properly or stop working completely. In case, if you have done any major customisation, then your system may crash.
If you are using current script version 1.0 as default without making any design/theme/customisation changes, then you are safe to upgrade your script version.
If you have made only design changes, then after upgradation you will need to recode your customised design template.
If any of your programming or designing customisation is removed/no longer available or if your website stops working after version upgradation, then it will not be our responsibility. You need to perform the version upgradation at your own risk.
- Steps to Follow Before Upgrading
Make sure you follow all the steps mentioned below before upgrading:
- Make sure you take your entire script backup including database, files, etc.
- Change your theme to any of the default themes that comes with the script. If you have a custom theme/design and if you don’t change your theme to the script’s default theme, then your site will not work.
- Keep your site in maintenance mode before performing version upgradation in order to avoid data mismatch
- Performing Script Upgradation
- Login your ProXScripts account https://www.proxscripts.com/index.php?action=login
- Click on the "Downloads" link in the menu
- You will be able to see the products available for download. Click on "More..."
- You will see the script version upgrade package. Click on "Download Now" to download the version upgrade package.
- "Unzip" the downloaded script files and go to the following folder => “upload”
- Next, connect your “FTP” to your “webhost account”. Upload all the files in the folder named “upload” mentioned in first step to “public_html/app" directory.
- Run upgrade/index.php File
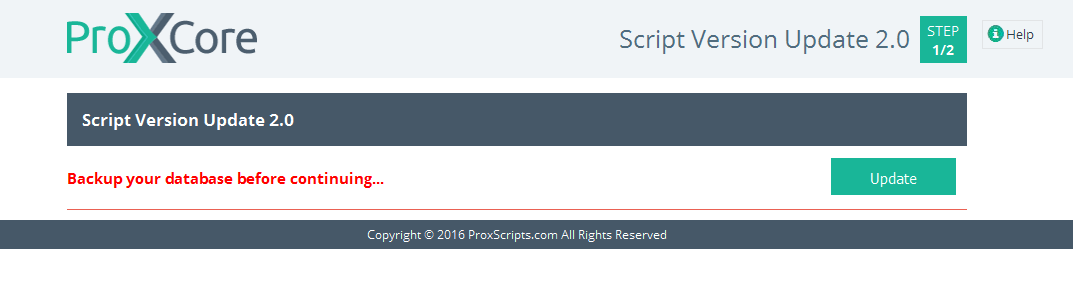
- [YOUR SITE URL]/upgrade/index.php
- Click on “Update”
- You will see an Alert box – “Click OK if you want to upgrade your script version”. Click on “OK” and the upgradation process will start. Please note that this step can take few minutes for performing upgradation. So, please be patient.
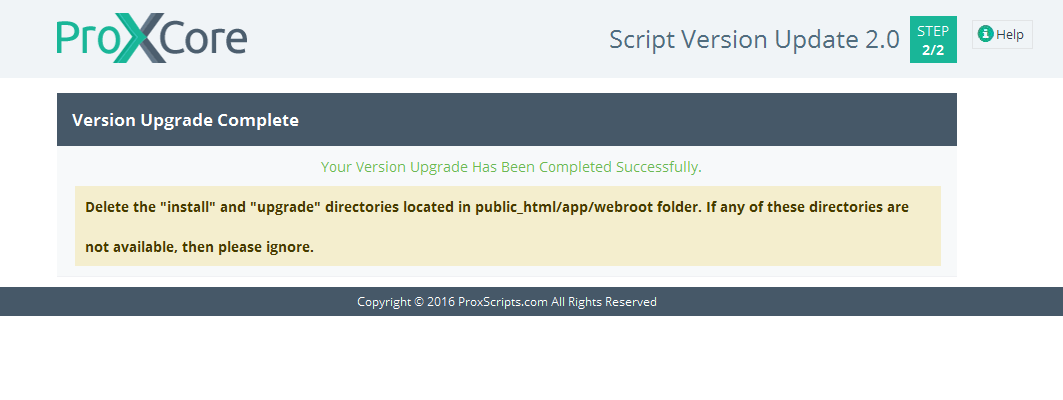
- Your ProXCore Script will be successfully upgraded from Version 1.0 to 2.0 after performing above steps and you will see the following screenshot:
- Now, you can login to the upgraded version with your existing credentials.
Before you overwrite all the files, please ensure that you do not overwrite the “settings.php” file. This file will be found in the “public_html” directory. Please note that if you are using subdomain, then you will find this file in the “public_html/subdomain” directory. If you overwrite the “settings.php” file, then you will get an error and the upgradation will not be possible.
Please note that if you are using subdomain, you must Upload all the files to corresponding public_html/subdomain directory.
Version Number: 2.0
- Release Date: 14th April 2016
- Change Logs: https://www.proxscripts.com/docs/Change_Logs
- Module Upgrade from Version 1.0 to 2.0