 Contents
 (Created page with "<div class="docslinkbox"> <div class="docstitle" style="font-size:16px;">Contents</div> <div class="docslink"> <ul> <li><b>Upgrading Modules#revshare|Upgrad...") |
|||
| Line 20: | Line 20: | ||
<p> Download your Revenue Sharing Module from your ProXScripts account</p> | <p> Download your Revenue Sharing Module from your ProXScripts account</p> | ||
<p style="font-size: 17px;"><b>Step 2:</b></p> | <p style="font-size: 17px;"><b>Step 2:</b></p> | ||
| − | <p><b>"Unzip"</b> the downloaded Revenue Sharing Module files and go to the following folder => <b>“module3 | + | <p><b>"Unzip"</b> the downloaded Revenue Sharing Module files and go to the following folder => <b>“module3/upload”</b></p> |
<p style="font-size: 17px;"><b>Step 3:</b></p> | <p style="font-size: 17px;"><b>Step 3:</b></p> | ||
| − | <p>Next, connect your <b>“FTP”</b> to your <b>“webhost account”</b>. Overwrite all the unzipped files in upload folder to <b>“public_html | + | <p>Next, connect your <b>“FTP”</b> to your <b>“webhost account”</b>. Overwrite all the unzipped files in upload folder to <b>“public_html/app"</b> directory.</p> |
<div class="important"><b>Note :</b> | <div class="important"><b>Note :</b> | ||
| − | <p>Please note that if you are using subdomain, you must overwrite the files to corresponding public_html/subdomain | + | <p>Please note that if you are using subdomain, you must overwrite the files to corresponding public_html/subdomain/app directory.</p> |
</div> | </div> | ||
<p style="font-size: 17px;"><b>Step 4:</b></p> | <p style="font-size: 17px;"><b>Step 4:</b></p> | ||
| Line 41: | Line 41: | ||
<p> Download your Investment Plans Module from your ProXScripts account</p> | <p> Download your Investment Plans Module from your ProXScripts account</p> | ||
<p style="font-size: 17px;"><b>Step 2:</b></p> | <p style="font-size: 17px;"><b>Step 2:</b></p> | ||
| − | <p><b>"Unzip"</b> the downloaded Investment Plans Module files and go to the following folder => <b>“module1 | + | <p><b>"Unzip"</b> the downloaded Investment Plans Module files and go to the following folder => <b>“module1/upload”</b></p> |
<p style="font-size: 17px;"><b>Step 3:</b></p> | <p style="font-size: 17px;"><b>Step 3:</b></p> | ||
| − | <p>Next, connect your <b>“FTP”</b> to your <b>“webhost account”</b>. Overwrite all the unzipped files in upload folder to <b>“public_html | + | <p>Next, connect your <b>“FTP”</b> to your <b>“webhost account”</b>. Overwrite all the unzipped files in upload folder to <b>“public_html/app"</b> directory.</p> |
<div class="important"><b>Note :</b> | <div class="important"><b>Note :</b> | ||
| − | <p>Please note that if you are using subdomain, you must overwrite the files to corresponding public_html/subdomain | + | <p>Please note that if you are using subdomain, you must overwrite the files to corresponding public_html/subdomain/app directory.</p> |
</div> | </div> | ||
<p style="font-size: 17px;"><b>Step 4:</b></p> | <p style="font-size: 17px;"><b>Step 4:</b></p> | ||
| Line 62: | Line 62: | ||
<p> Download your Matrix Cycler Module from your ProXScripts account</p> | <p> Download your Matrix Cycler Module from your ProXScripts account</p> | ||
<p style="font-size: 17px;"><b>Step 2:</b></p> | <p style="font-size: 17px;"><b>Step 2:</b></p> | ||
| − | <p><b>"Unzip"</b> the downloaded Matrix Cycler Module files and go to the following folder => <b>“module2 | + | <p><b>"Unzip"</b> the downloaded Matrix Cycler Module files and go to the following folder => <b>“module2/upload”</b></p> |
<p style="font-size: 17px;"><b>Step 3:</b></p> | <p style="font-size: 17px;"><b>Step 3:</b></p> | ||
| − | <p>Next, connect your <b>“FTP”</b> to your <b>“webhost account”</b>. Overwrite all the unzipped files in upload folder to <b>“public_html | + | <p>Next, connect your <b>“FTP”</b> to your <b>“webhost account”</b>. Overwrite all the unzipped files in upload folder to <b>“public_html/app"</b> directory.</p> |
<div class="important"><b>Note :</b> | <div class="important"><b>Note :</b> | ||
| − | <p>Please note that if you are using subdomain, you must overwrite the files to corresponding public_html/subdomain | + | <p>Please note that if you are using subdomain, you must overwrite the files to corresponding public_html/subdomain/app directory.</p> |
</div> | </div> | ||
<p style="font-size: 17px;"><b>Step 4:</b></p> | <p style="font-size: 17px;"><b>Step 4:</b></p> | ||
| Line 83: | Line 83: | ||
<p> Download your Straight Line Cycler Module from your ProXScripts account</p> | <p> Download your Straight Line Cycler Module from your ProXScripts account</p> | ||
<p style="font-size: 17px;"><b>Step 2:</b></p> | <p style="font-size: 17px;"><b>Step 2:</b></p> | ||
| − | <p><b>"Unzip"</b> the downloaded Straight Line Cycler Module files and go to the following folder => <b>“module4 | + | <p><b>"Unzip"</b> the downloaded Straight Line Cycler Module files and go to the following folder => <b>“module4/upload”</b></p> |
<p style="font-size: 17px;"><b>Step 3:</b></p> | <p style="font-size: 17px;"><b>Step 3:</b></p> | ||
| − | <p>Next, connect your <b>“FTP”</b> to your <b>“webhost account”</b>. Overwrite all the unzipped files in upload folder to <b>“public_html | + | <p>Next, connect your <b>“FTP”</b> to your <b>“webhost account”</b>. Overwrite all the unzipped files in upload folder to <b>“public_html/app"</b> directory.</p> |
<div class="important"><b>Note :</b> | <div class="important"><b>Note :</b> | ||
| − | <p>Please note that if you are using subdomain, you must overwrite the files to corresponding public_html/subdomain | + | <p>Please note that if you are using subdomain, you must overwrite the files to corresponding public_html/subdomain/app directory.</p> |
</div> | </div> | ||
<p style="font-size: 17px;"><b>Step 4:</b></p> | <p style="font-size: 17px;"><b>Step 4:</b></p> | ||
Revision as of 11:25, 15 April 2016
Please find the version upgradation steps as below. Please read the steps carefully and follow them.
Keep your site in maintenance mode before performing module upgradation in order to avoid data mismatch.
Step 1:
Download your Revenue Sharing Module from your ProXScripts account
Step 2:
"Unzip" the downloaded Revenue Sharing Module files and go to the following folder => “module3/upload”
Step 3:
Next, connect your “FTP” to your “webhost account”. Overwrite all the unzipped files in upload folder to “public_html/app" directory.
Please note that if you are using subdomain, you must overwrite the files to corresponding public_html/subdomain/app directory.
Step 4:
Run upgrade-module3/index.php File
- [YOUR SITE URL]/upgrade-module3/index.php
- Click on “Update”
- You will see an Alert box – “Click OK if you want to upgrade your script module version”. Click on “OK” and the upgradation process will start. Please note that this step can take few minutes for performing upgradation. So, please be patient.

Step 5:
Your Revenue Sharing Module will be successfully upgraded from Version 1.0 to 2.0 after performing above steps and you will see the following screenshot:
Delete the "install" and "upgrade-module3" directories located in public_html/app/webroot folder. If any of these directories are not available, then please ignore. Once this is done, you are ready to go.

Step 1:
Download your Investment Plans Module from your ProXScripts account
Step 2:
"Unzip" the downloaded Investment Plans Module files and go to the following folder => “module1/upload”
Step 3:
Next, connect your “FTP” to your “webhost account”. Overwrite all the unzipped files in upload folder to “public_html/app" directory.
Please note that if you are using subdomain, you must overwrite the files to corresponding public_html/subdomain/app directory.
Step 4:
Run upgrade-module1/index.php File
- [YOUR SITE URL]/upgrade-module1/index.php
- Click on “Update”
- You will see an Alert box – “Click OK if you want to upgrade your script module version”. Click on “OK” and the upgradation process will start. Please note that this step can take few minutes for performing upgradation. So, please be patient.
Step 5:
Your Investment Plans Module will be successfully upgraded from Version 1.0 to 2.0 after performing above steps and you will see the following screenshot:
Delete the "install" and "upgrade-module1" directories located in public_html/app/webroot folder. If any of these directories are not available, then please ignore. Once this is done, you are ready to go.

Step 1:
Download your Matrix Cycler Module from your ProXScripts account
Step 2:
"Unzip" the downloaded Matrix Cycler Module files and go to the following folder => “module2/upload”
Step 3:
Next, connect your “FTP” to your “webhost account”. Overwrite all the unzipped files in upload folder to “public_html/app" directory.
Please note that if you are using subdomain, you must overwrite the files to corresponding public_html/subdomain/app directory.
Step 4:
Run upgrade-module2/index.php File
- [YOUR SITE URL]/upgrade-module2/index.php
- Click on “Update”
- You will see an Alert box – “Click OK if you want to upgrade your script module version”. Click on “OK” and the upgradation process will start. Please note that this step can take few minutes for performing upgradation. So, please be patient.

Step 5:
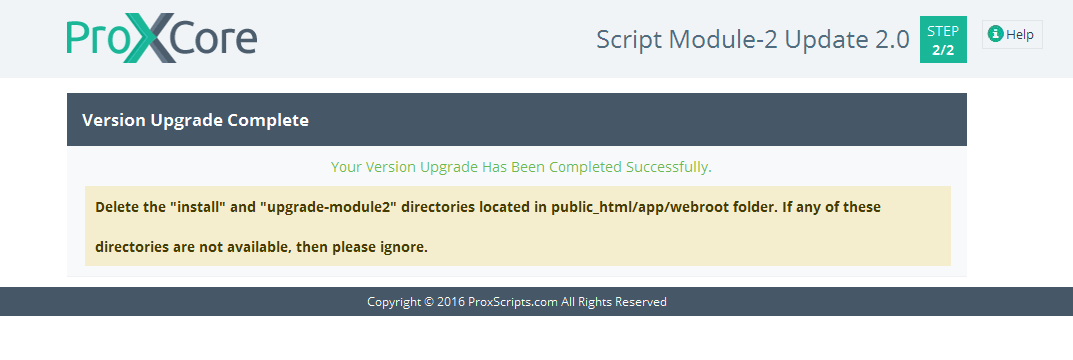
Your Matrix Cycler Module will be successfully upgraded from Version 1.0 to 2.0 after performing above steps and you will see the following screenshot:
Delete the "install" and "upgrade-module2" directories located in public_html/app/webroot folder. If any of these directories are not available, then please ignore. Once this is done, you are ready to go.
Step 1:
Download your Straight Line Cycler Module from your ProXScripts account
Step 2:
"Unzip" the downloaded Straight Line Cycler Module files and go to the following folder => “module4/upload”
Step 3:
Next, connect your “FTP” to your “webhost account”. Overwrite all the unzipped files in upload folder to “public_html/app" directory.
Please note that if you are using subdomain, you must overwrite the files to corresponding public_html/subdomain/app directory.
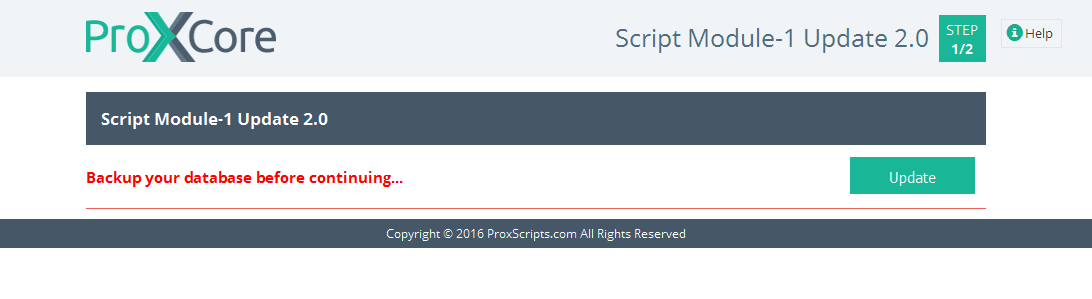
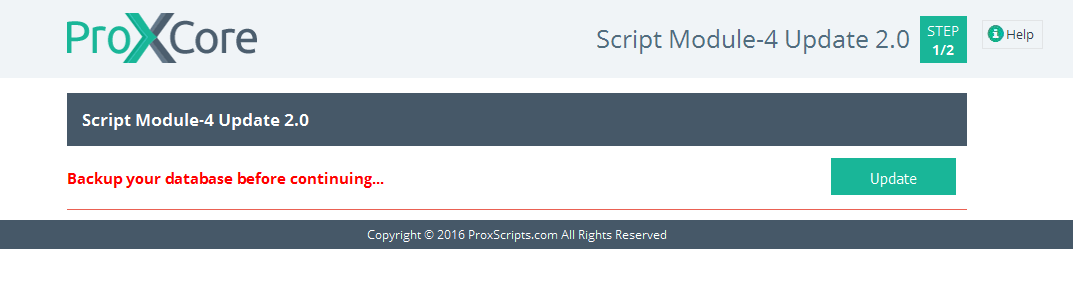
Step 4:
Run upgrade-module4/index.php File
- [YOUR SITE URL]/upgrade-module4/index.php
- Click on “Update”
- You will see an Alert box – “Click OK if you want to upgrade your script module version”. Click on “OK” and the upgradation process will start. Please note that this step can take few minutes for performing upgradation. So, please be patient.
Step 5:
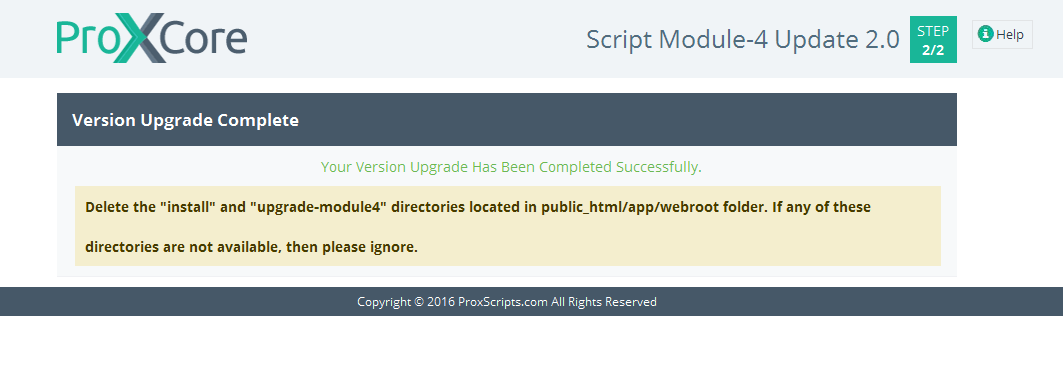
Your Straight Line Cycler Module will be successfully upgraded from Version 1.0 to 2.0 after performing above steps and you will see the following screenshot:
Delete the "install" and "upgrade-module4" directories located in public_html/app/webroot folder. If any of these directories are not available, then please ignore. Once this is done, you are ready to go.